St. Patrick’s Day is a great excuse to get creative and have some fun with DIY projects! Whether you’re looking to deck out your home, make festive gifts, or simply enjoy a crafty afternoon, we’ve collected some easy and delightful projects for you to try. Grab your supplies and let’s bring a touch of Irish cheer to your day!
Pot of Gold Decoration
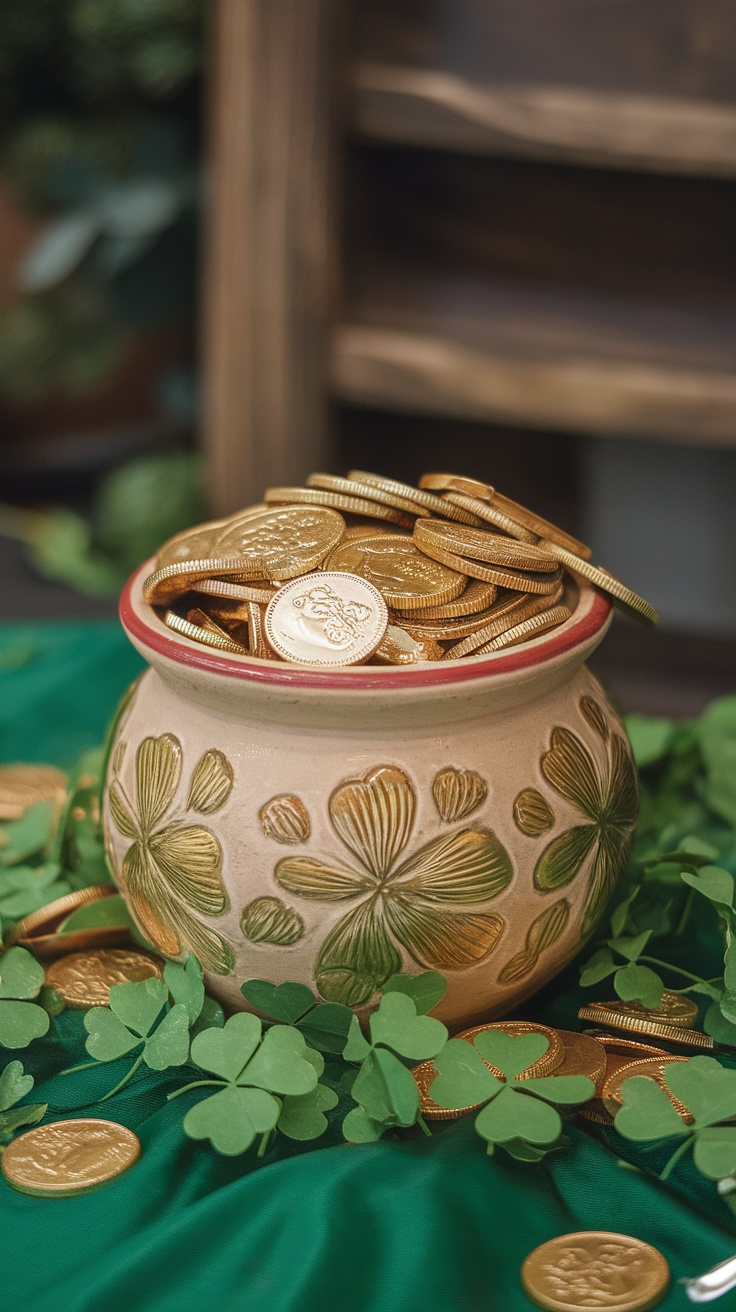
Get ready to add a splash of charm to your St. Patrick’s Day decor with a delightful pot of gold. This simple yet eye-catching decoration captures the spirit of the holiday perfectly.
The image shows a cute ceramic pot filled with shiny gold coins. The pot features intricate designs, including shamrocks, which are iconic symbols of St. Patrick’s Day. Surrounding the pot, green shamrock leaves add a fresh touch, enhancing the festive mood.
To create your own pot of gold, start by choosing a pot that fits your style. A simple terracotta pot works great. You can paint it or leave it natural. Fill it with chocolate gold coins or shiny chocolate-covered candies. Scatter some artificial shamrocks around the base for that extra festive flair. This decoration is not only fun to make but also adds a charming touch to your home.
Leprechaun Hat Centerpiece
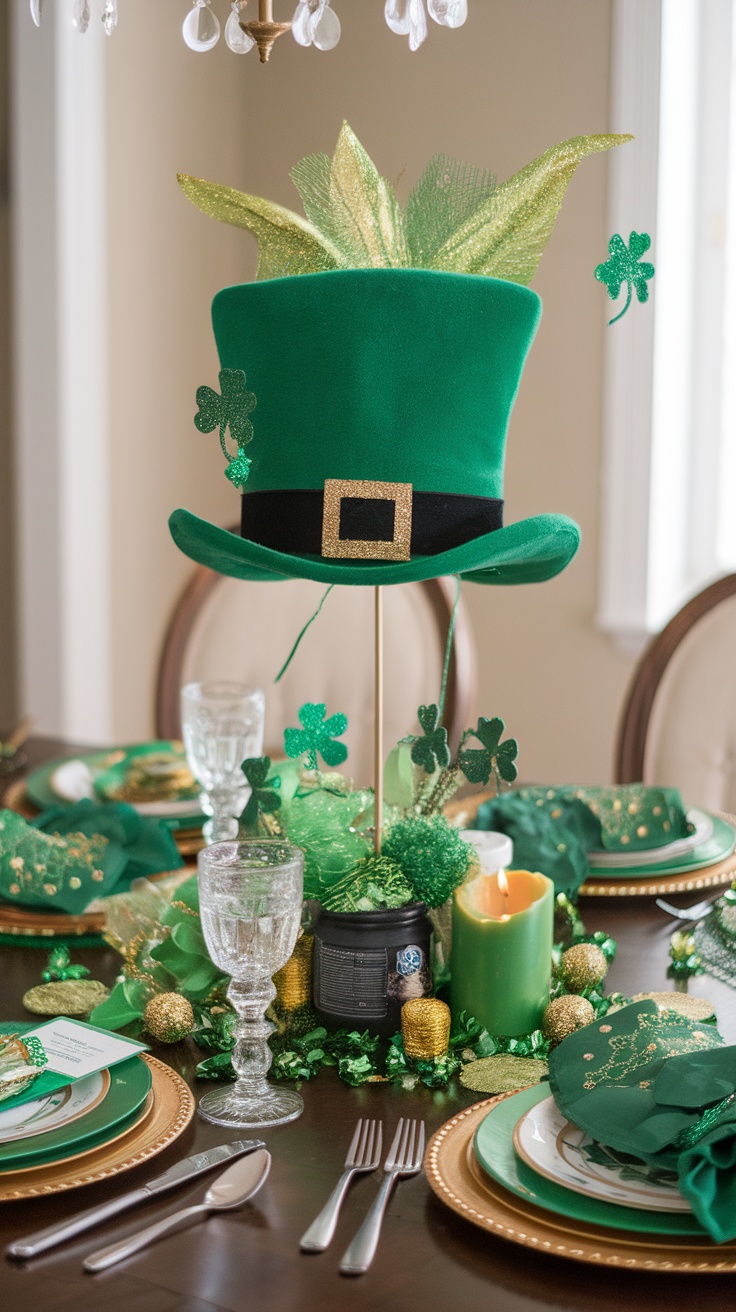
The Leprechaun Hat Centerpiece is a fun way to add some festive flair to your St. Patrick’s Day celebrations. This delightful decoration features a large green leprechaun hat, adorned with a shiny gold buckle and a burst of greenery and gold accents on top.
Surrounding the hat, you’ll find glimmering decorations like shamrocks and sparkling baubles that enhance the overall look. The centerpiece is sure to catch the eye of your guests and elevate the festive spirit of your table.
To recreate this charming piece, gather a green hat, faux leaves, and sparkly shamrock ornaments. Place the hat upright and fill it with the greenery for that extra touch. A few golden orbs and a candle nestled nearby will tie everything together beautifully!
St. Patrick’s Day Wreath
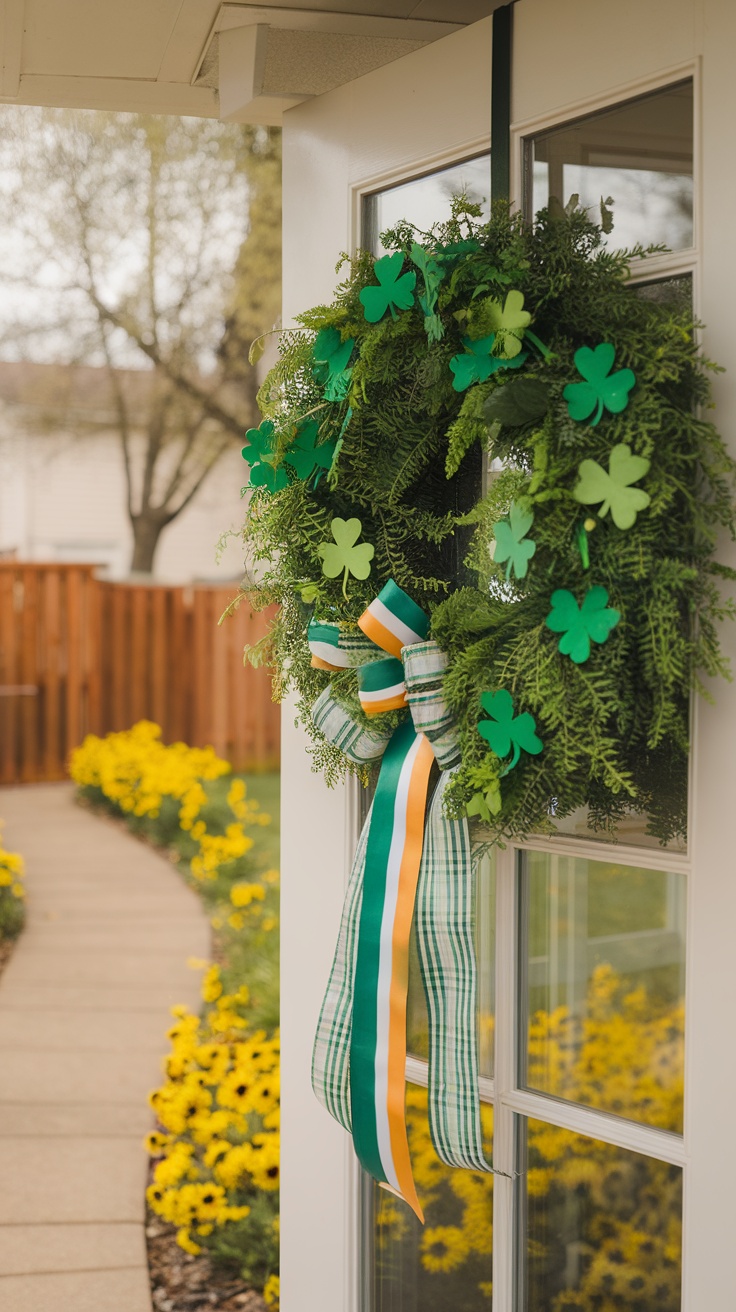
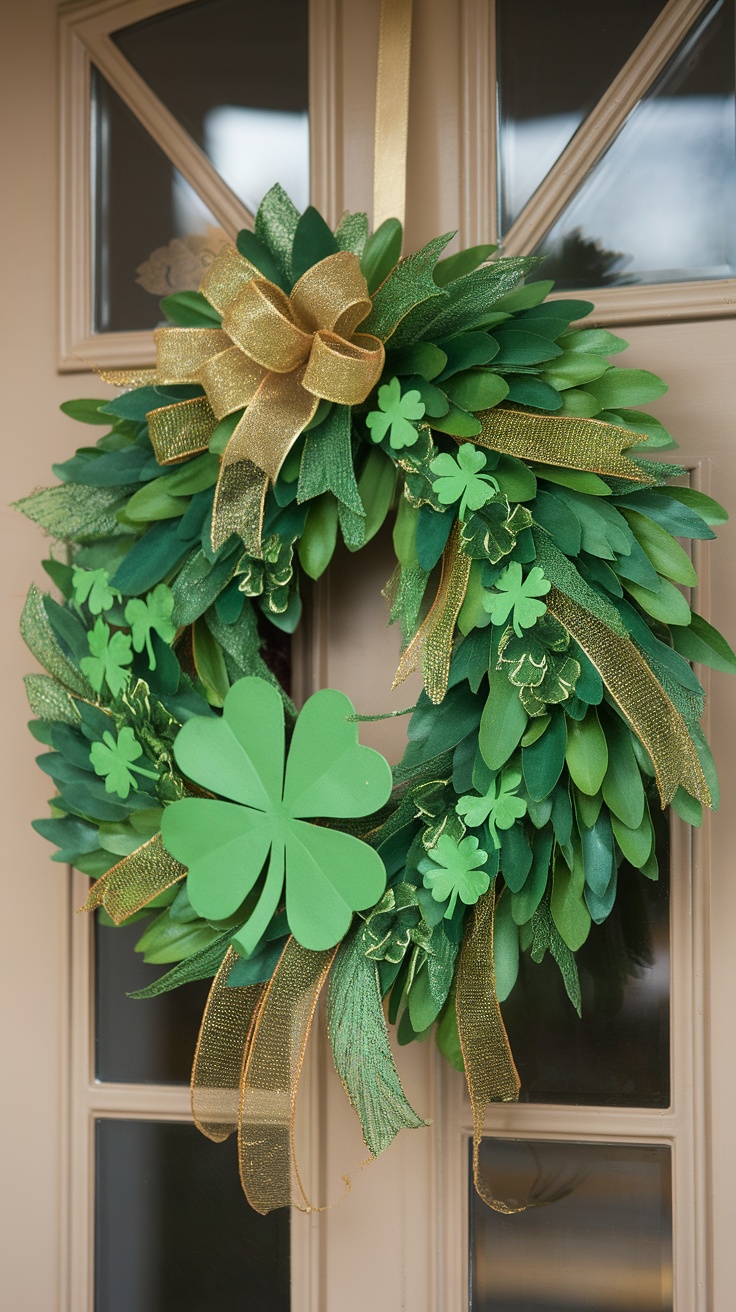
Creating a St. Patrick’s Day wreath can be a fun and festive way to celebrate the holiday. This wreath is adorned with vibrant green leaves and cheerful shamrocks, making it a perfect focal point for your front door. The combination of textures adds depth, creating a warm welcome for guests.
A lovely ribbon in shades of green and gold complements the design beautifully, adding a touch of elegance. It’s a simple yet striking way to bring the spirit of the holiday into your home. This wreath not only enhances your decor but also spreads joy and cheer to everyone who sees it.
To make your own wreath, gather some faux greens, shamrock cutouts, and a stylish ribbon. Assemble them on a wreath form, securing everything with hot glue. Hang it proudly, and you’re all set to enjoy the St. Patrick’s Day festivities!
Irish Flag Banner
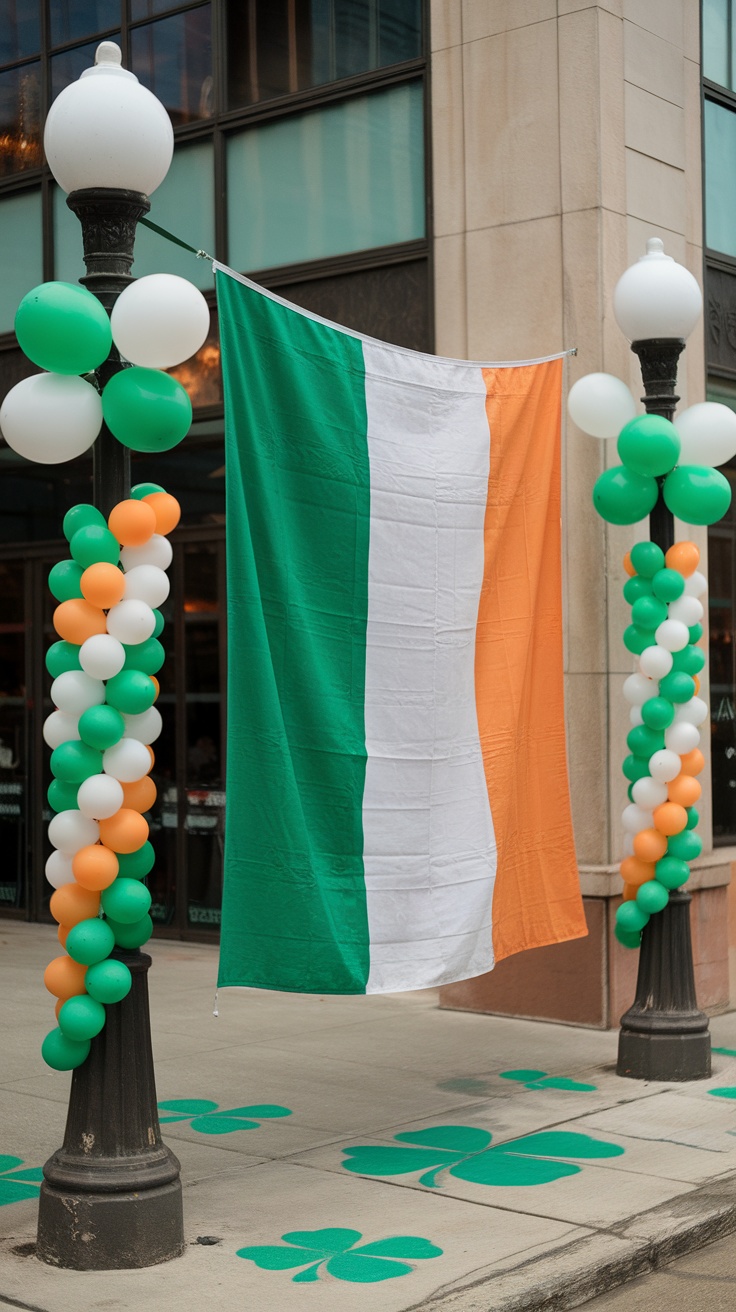
An Irish flag banner adds a festive touch to any St. Patrick’s Day celebration. This banner features the traditional green, white, and orange colors that represent Ireland. Hanging prominently, it creates an inviting atmosphere for friends and family to gather and enjoy the festivities.
The backdrop of balloons in green, white, and orange complements the flag beautifully. This colorful display can be made at home using simple supplies like balloons and string, making it an easy DIY project for anyone looking to celebrate the holiday.
Consider adding this banner to your front porch or living room for a cheerful vibe. It’s a great way to show your spirit and bring some joy to the day!
Gold Coin Treasure Hunt
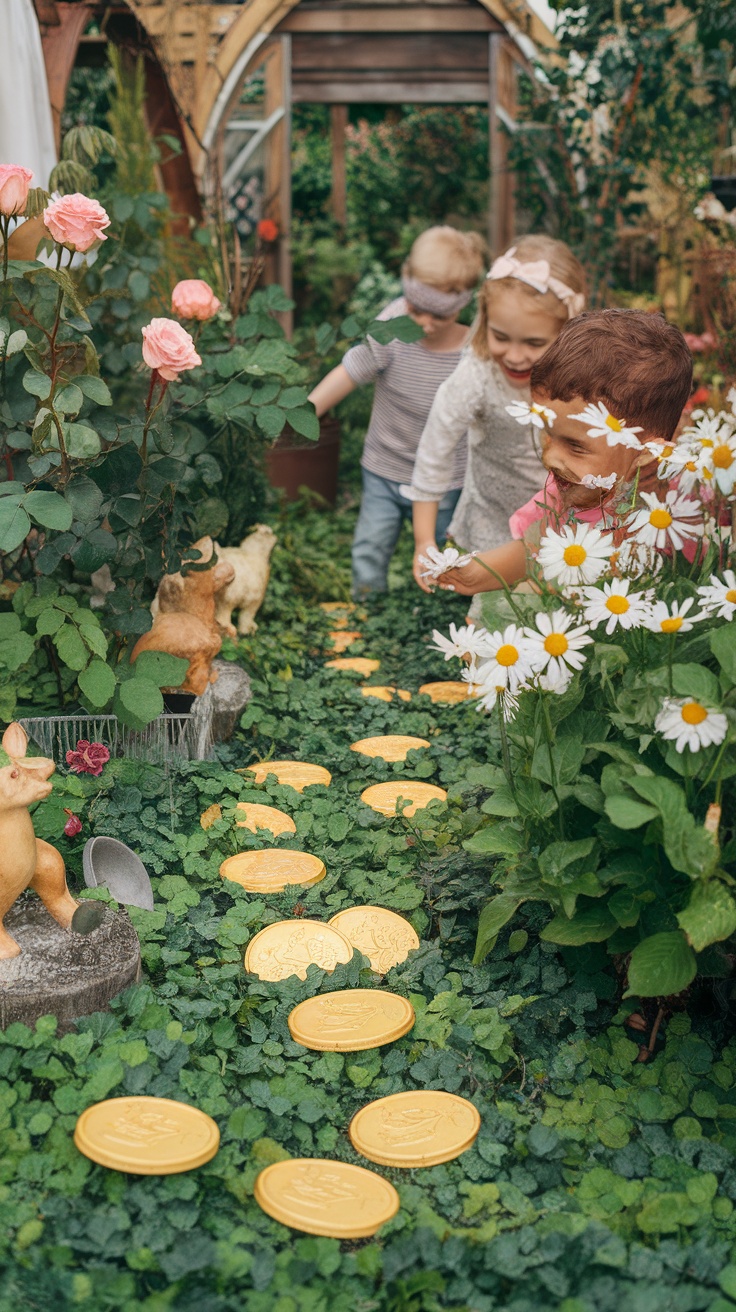
What better way to celebrate St. Patrick’s Day than with a fun treasure hunt? The image shows kids joyfully searching for gold coins hidden among the greenery. This playful activity brings excitement and laughter, making it perfect for families.
To set up your own gold coin treasure hunt, start by collecting some chocolate gold coins. You can easily find these at many stores during the season. Once you have your treasure, choose a spot in your yard or park where you can hide the coins among plants and flowers.
Next, create a simple map or clues to guide the kids on their quest. You can even add some garden decorations, like small animals, to make the hunt more whimsical. Watching the kids as they search through the flowers and bushes will surely bring smiles to everyone’s faces.
This treasure hunt not only adds fun to your St. Patrick’s Day celebration but also encourages kids to explore and enjoy nature. So, gather your coins and get ready for a delightful day of treasure hunting!
Shamrock Garland
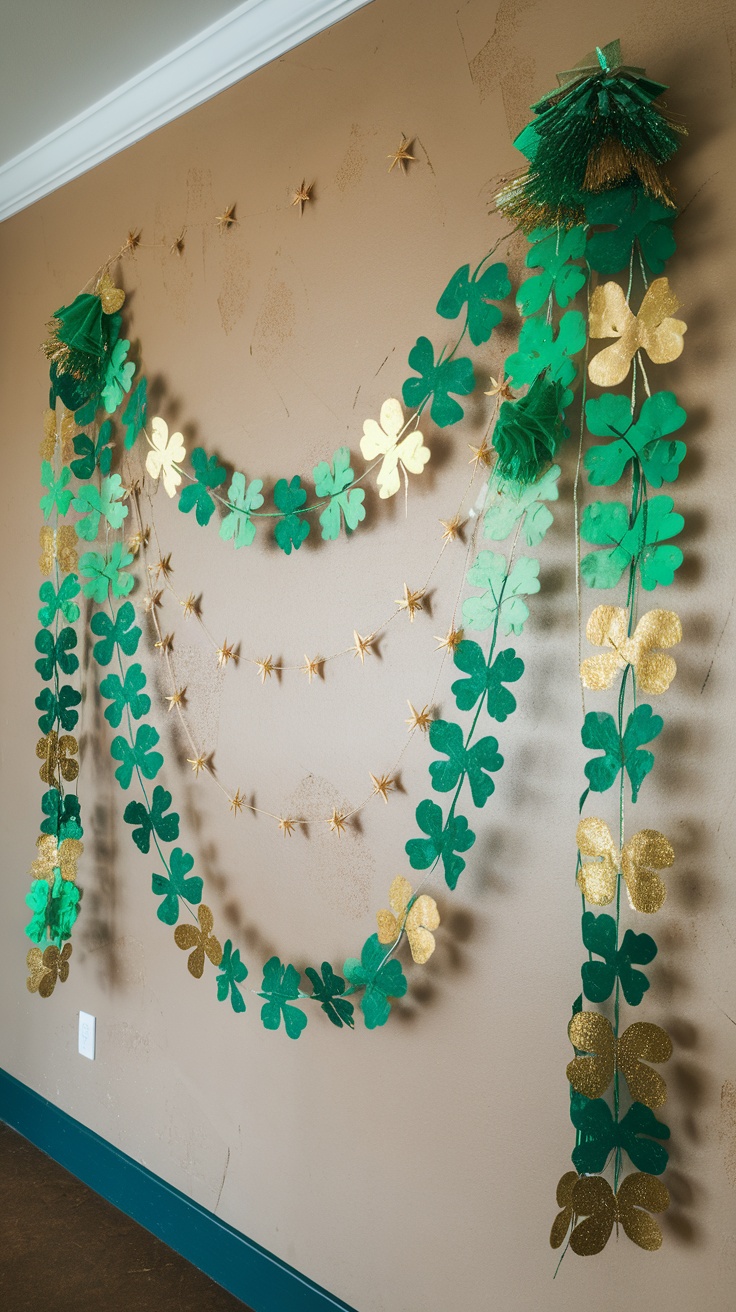
Creating a shamrock garland is a fun and easy way to add a festive touch to your St. Patrick’s Day celebrations. The image shows a beautiful display of green and gold shamrocks hanging gracefully on a wall, making it an eye-catching decoration.
To make your own garland, you can start by gathering some supplies. You’ll need green and gold paper, scissors, string or twine, and a hole punch. Cut out various sizes of shamrocks and make holes at the top of each one.
Next, thread the shamrocks onto the string, spacing them out as desired. You can alternate between green and gold for a more dynamic look. Hang your garland on a wall, around a doorway, or even across a table for a cheerful vibe.
This simple project not only brightens up your space but also gives you a chance to get creative. It’s perfect for parties, family gatherings, or just to enjoy the spirit of the holiday at home.
Lucky Horseshoe Wall Art
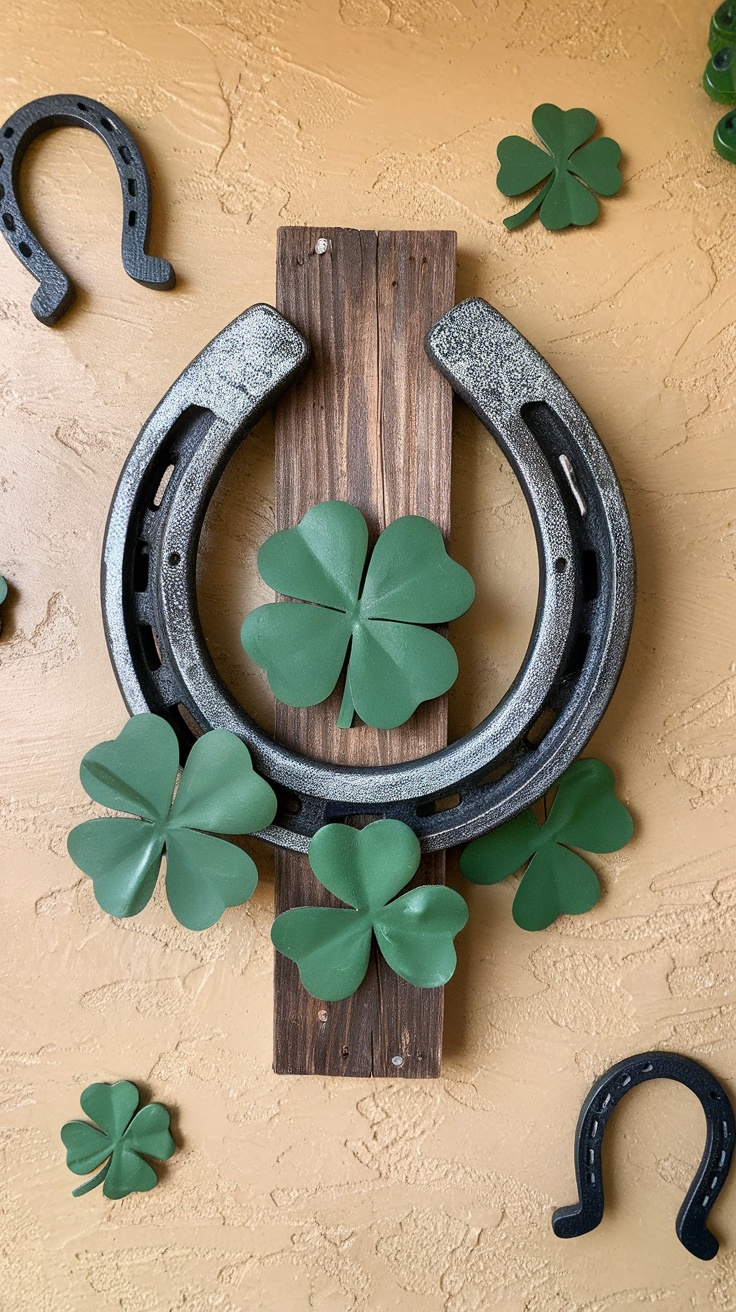
Get into the spirit of St. Patrick’s Day with a fun project: Lucky Horseshoe Wall Art. This craft is perfect for anyone looking to add a bit of charm and luck to their home. Picture a rustic wooden background adorned with a beautiful horseshoe, symbolizing good fortune. The horseshoe is often associated with luck, making this piece a fitting decor for the holiday.
The addition of vibrant green shamrocks creates a lively contrast against the darker wood. These shamrocks not only enhance the design but also bring a festive feel that celebrates the holiday’s Irish roots. You can use faux greenery for an easy upkeep.
To create your own lucky horseshoe wall art, you’ll need a few simple materials. Gather a horseshoe, some wooden board, adhesive, and green craft paper or felt for the shamrocks. Arrange and glue everything together for a delightful piece that will surely impress your guests. Hang it in your living room or entryway to welcome the luck of the Irish into your home!
Rainbow Paper Craft
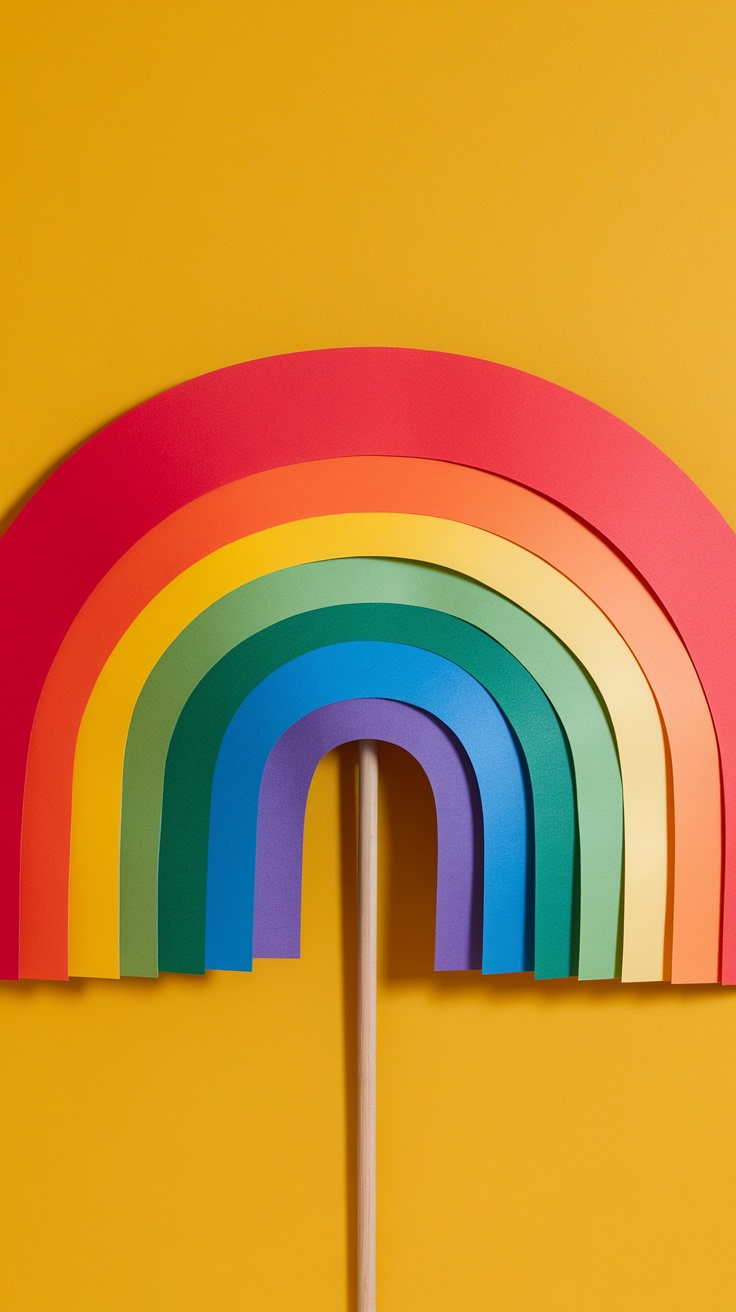
This rainbow paper craft is a cheerful project perfect for St. Patrick’s Day. The bright, stacked colors create a stunning effect that can brighten up any space. It’s a simple way to celebrate the holiday while engaging in a fun DIY activity.
To make your own rainbow, gather some colorful paper. You will need red, orange, yellow, green, blue, and purple. Cut each paper into semi-circle shapes of varying sizes. Start with the largest red piece at the top and work your way down to the smallest purple piece.
Once you have all your pieces cut out, glue them onto a sturdy base, like a piece of cardboard or a wooden stick. This can be hung on walls, displayed on tables, or even used as a festive decoration for a party. It’s a fun craft that kids and adults can enjoy together!
DIY Leprechaun Puppet
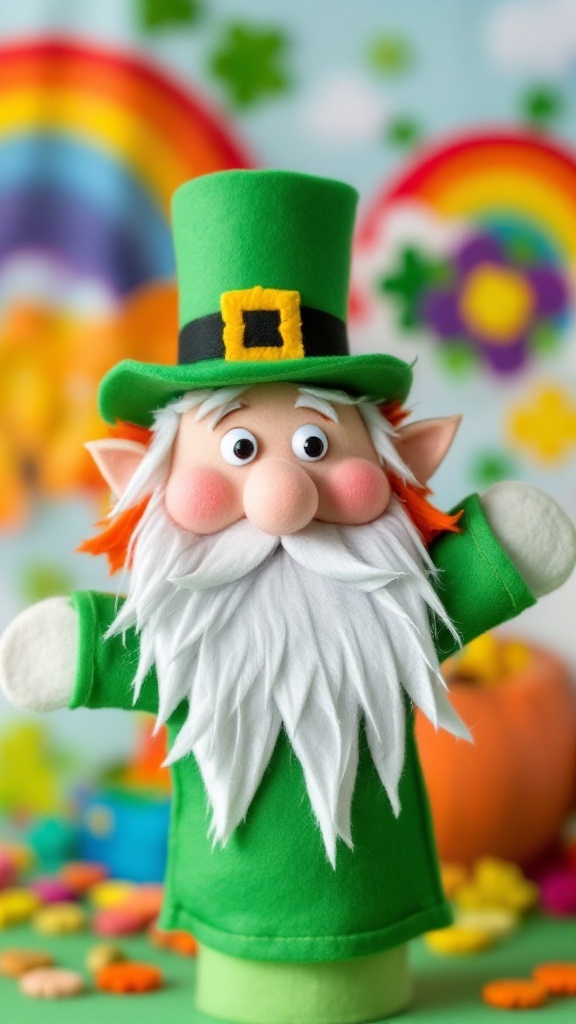
Create a fun leprechaun puppet to celebrate St. Patrick’s Day! This cheerful character, with its bright green attire and playful expression, is sure to bring a smile to anyone’s face.
The leprechaun puppet stands proudly against a colorful background filled with rainbows and shamrocks. This setting sets the mood for festive activities. The puppet’s expressive features—like its bright red beard and friendly smile—make it perfect for storytelling or puppet shows.
Making your own leprechaun puppet is a simple and enjoyable project. You just need some felt, glue, and creativity. Start by cutting out shapes for the body, hat, and features. Assemble them to create your unique puppet. It’s a great way to get crafty with kids and celebrate the holiday together!
St. Patrick’s Day Cards
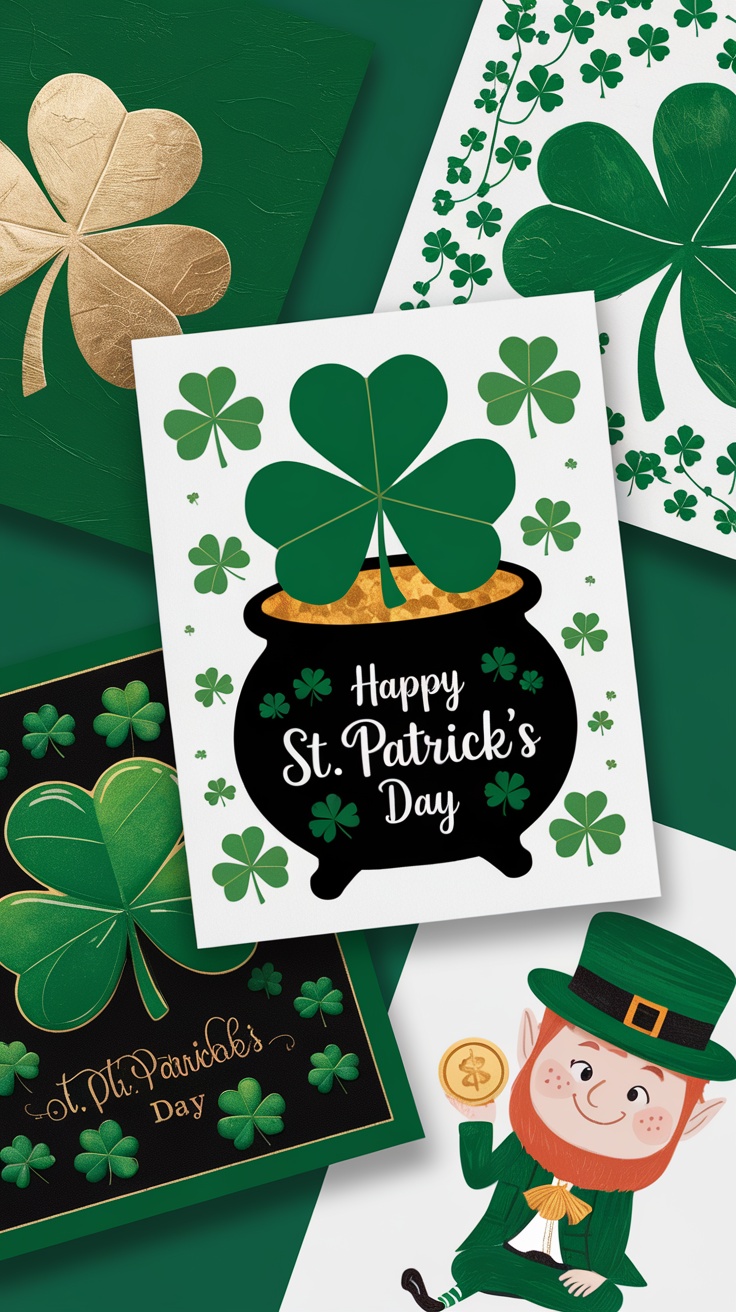
Creating St. Patrick’s Day cards adds a personal touch to your holiday celebrations. The image shows vibrant cards decorated with classic symbols like shamrocks and leprechauns. Each card has its own charm and is ready to share joy.
The four-leaf clovers symbolize luck and are an essential part of St. Patrick’s Day. The card featuring a pot of gold and a shamrock is perfect for sending good wishes. You can easily make these cards at home, using craft supplies like colored paper, markers, and stickers.
Feel free to get creative! Use gold glitter for the pot of gold or draw a cheerful leprechaun. Handwritten messages add warmth and make your cards special. Whether you’re mailing them or handing them out, these festive cards will surely bring smiles.
Green Slime for Fun
St. Patrick’s Day is all about fun and creativity. What better way to celebrate than by making some bright green slime? This easy DIY activity will keep everyone entertained, and it’s perfect for kids and adults alike.
The image shows a delightful green slime topped with sparkling glitter and tiny shamrock decorations. It looks smooth and stretchy, inviting you to reach out and play. This festive touch adds an extra layer of excitement to your St. Patrick’s Day celebrations.
To make your own green slime, you’ll need a few simple ingredients: glue, baking soda, contact lens solution, and food coloring. Start by mixing the glue and baking soda in a bowl. Then, add a few drops of green food coloring to get that perfect St. Patty’s shade. Finally, mix in the contact lens solution to bring everything together into a fun, stretchy slime!
Once your slime is ready, feel free to add glitters or small decorations, like the shamrocks seen in the image. This keeps the festive spirit alive and makes for a great activity with friends or family.
Pot of Gold Suncatcher
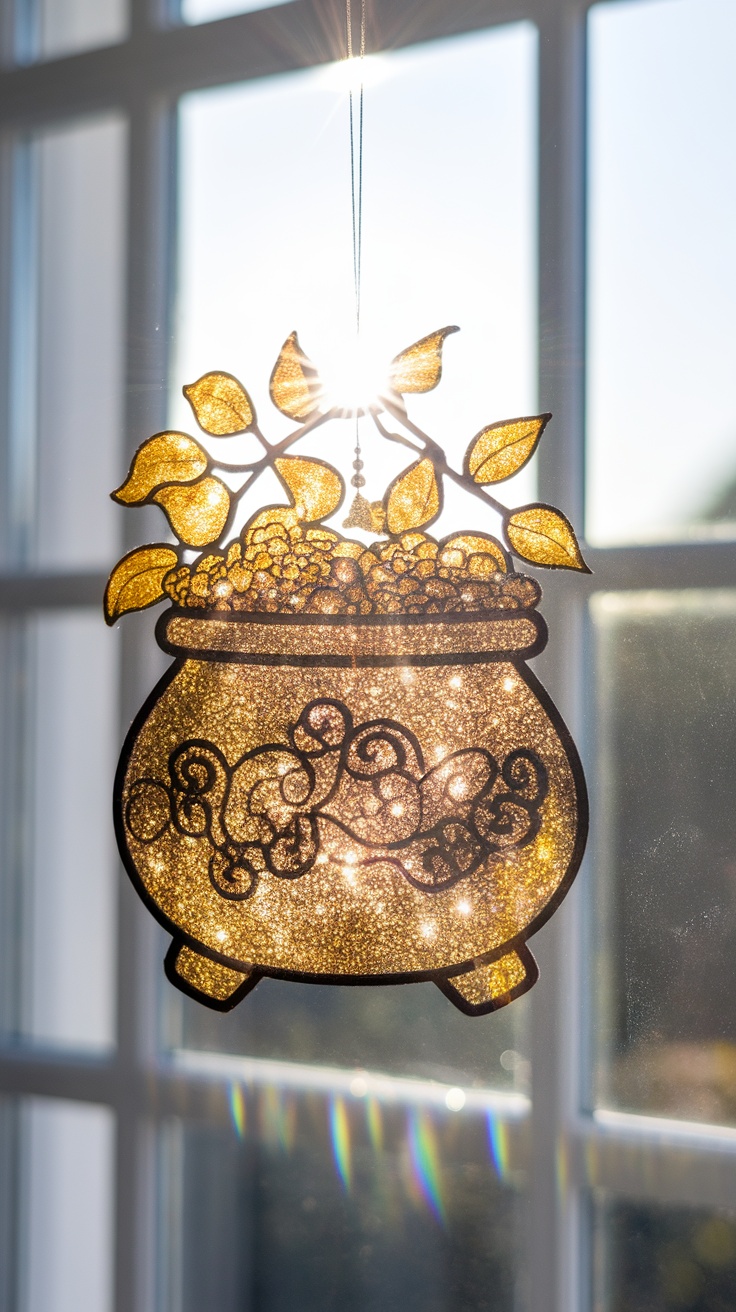
Create a charming pot of gold suncatcher to brighten up your space this St. Patrick’s Day. This simple project adds a festive touch while letting the sunlight shine through beautifully. Imagine the sparkle it will bring to your windows!
To make this suncatcher, gather some basic supplies: black construction paper, scissors, clear contact paper, and colorful tissue paper. Start by cutting out a pot shape and some gold coins from the construction paper. Then, cut a piece of contact paper to fit your pot and stick it to the back, leaving the sticky side up.
Next, tear the tissue paper into small pieces and lay them onto the contact paper. Once you’ve filled the pot with vibrant colors, cover it with another piece of contact paper to seal everything in. Hang your creation in a sunny spot, and watch the magic happen as it shines bright!
Stenciled Canvas Art
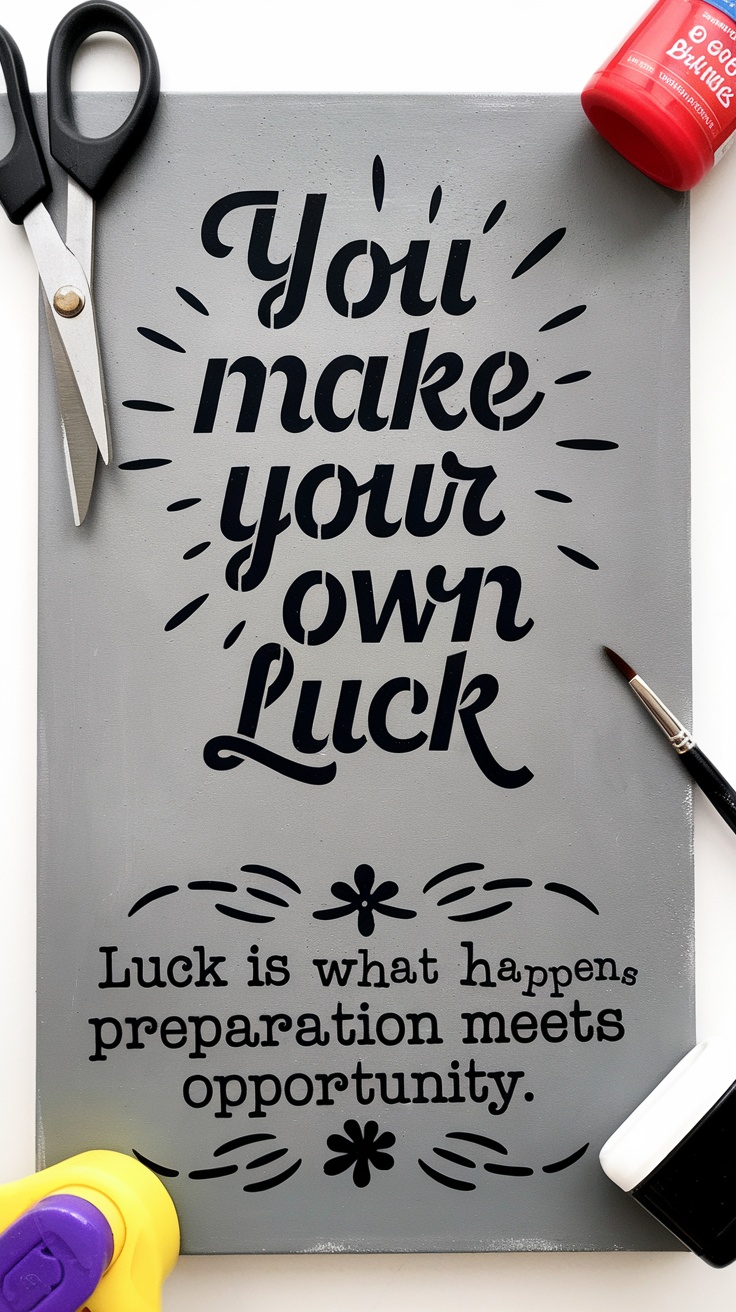
Stenciled canvas art is a fun and easy way to decorate your space for St. Patrick’s Day. The image showcases a stylish piece with a powerful message: “You make your own Luck.” This saying reminds us that our efforts shape our fortunes.
The canvas is painted in a soft gray color, which makes the bold black letters pop. The cheerful design is complemented by decorative elements that add an artistic touch. It’s a great way to inspire positivity while celebrating the holiday.
Creating your own stenciled canvas art requires minimal supplies. You’ll need a canvas, acrylic paint, stencils, and some brushes. Just lay the stencil on the canvas, apply your paint, and let it dry. This DIY project is perfect for all ages and can be a fun activity to do with friends or family.
Celtic Knot DIY Project
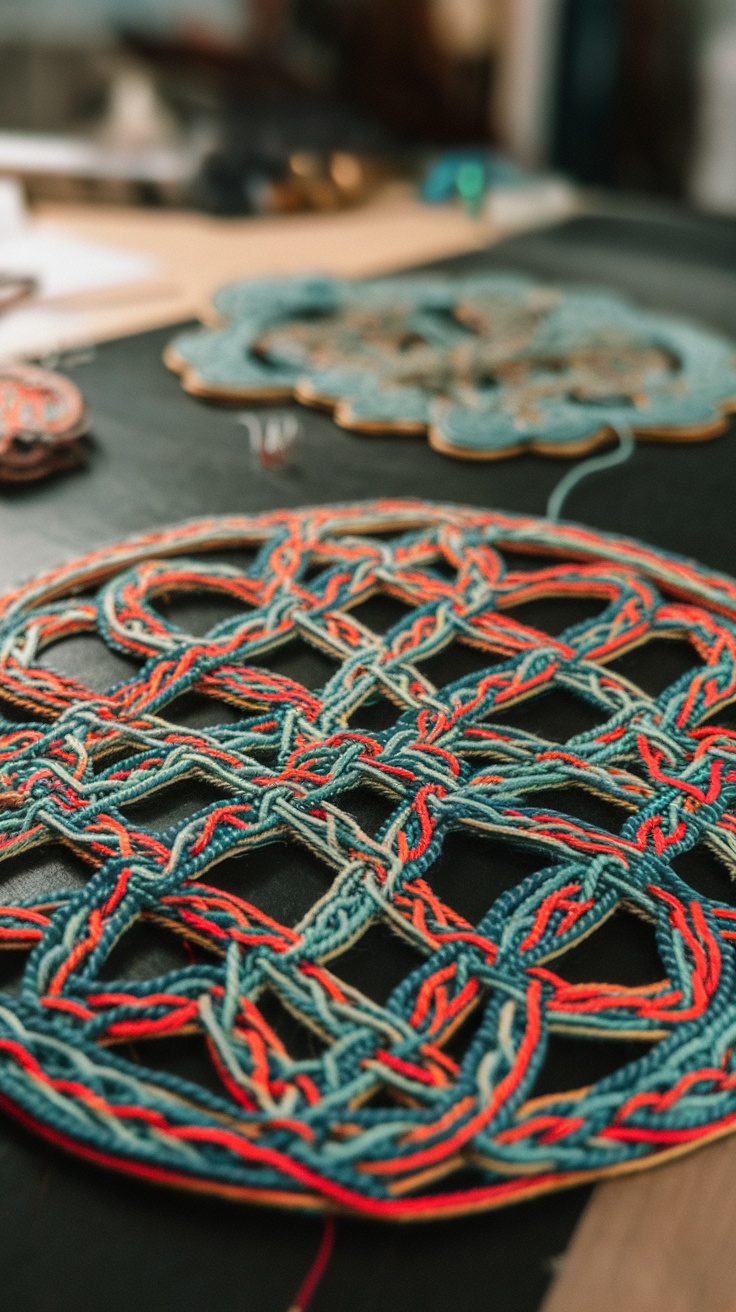
Celtic knots are a beautiful way to add a touch of tradition to your St. Patrick’s Day decor. These intricate patterns symbolize eternal life and interconnectedness, making them perfect for celebrating the holiday.
The image showcases a lovely Celtic knot in progress, featuring vibrant colors. The blending of blues and reds creates a striking visual impact. Working on these knots can be quite satisfying, as each twist and turn reveals more of the design.
To get started, all you need is some cord or yarn, a sturdy base, and a bit of patience. Begin by laying out your design on a flat surface. Once you have a pattern in mind, start weaving the cords, keeping them tight for a clean finish. It’s a simple yet rewarding process.
When finished, these knots can be used as decorations or gifts. They are not just crafts; they carry meaning and can spark conversations. So gather your materials and enjoy crafting your own Celtic knot!
DIY St. Patrick’s Day T-Shirts
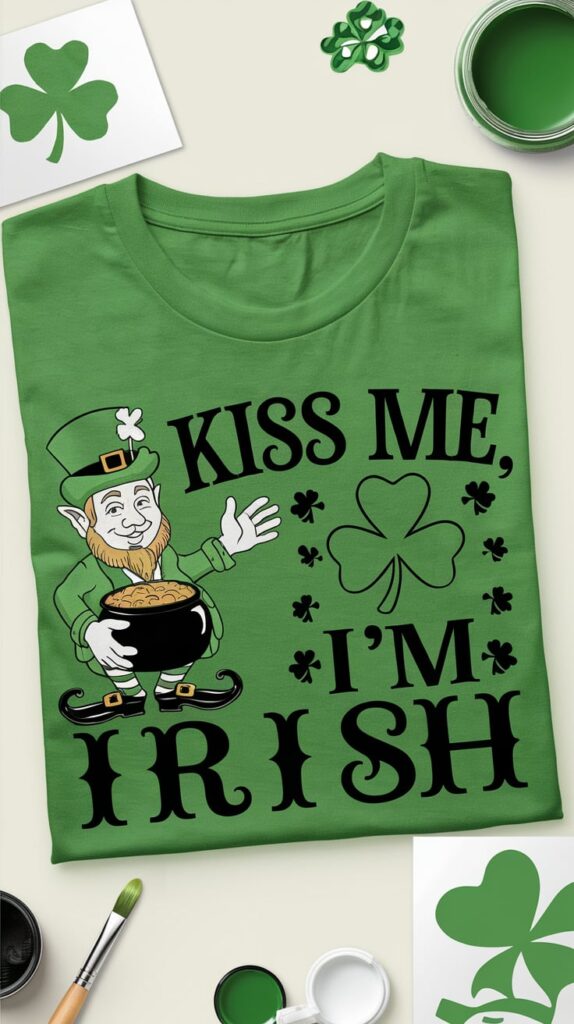
Creating your own St. Patrick’s Day T-shirt is a fun and creative way to celebrate the holiday. The image features a playful green shirt with a whimsical design that includes a leprechaun and cheerful lettering. It’s perfect for adding a personal touch to your festivities.
To make your own shirt, start by gathering materials like a plain T-shirt, fabric paint or iron-on transfers, and some brushes or a heat press. Choose a fun St. Patrick’s Day theme, and let your imagination run wild. You could go for a classic shamrock or something more unique like a funny slogan!
Once you have your design ready, apply the paint or transfer it onto the shirt. Make sure to let it dry completely if using fabric paint. Wearing your custom creation will make you feel festive and proud to show off your handiwork!
Shamrock Coasters
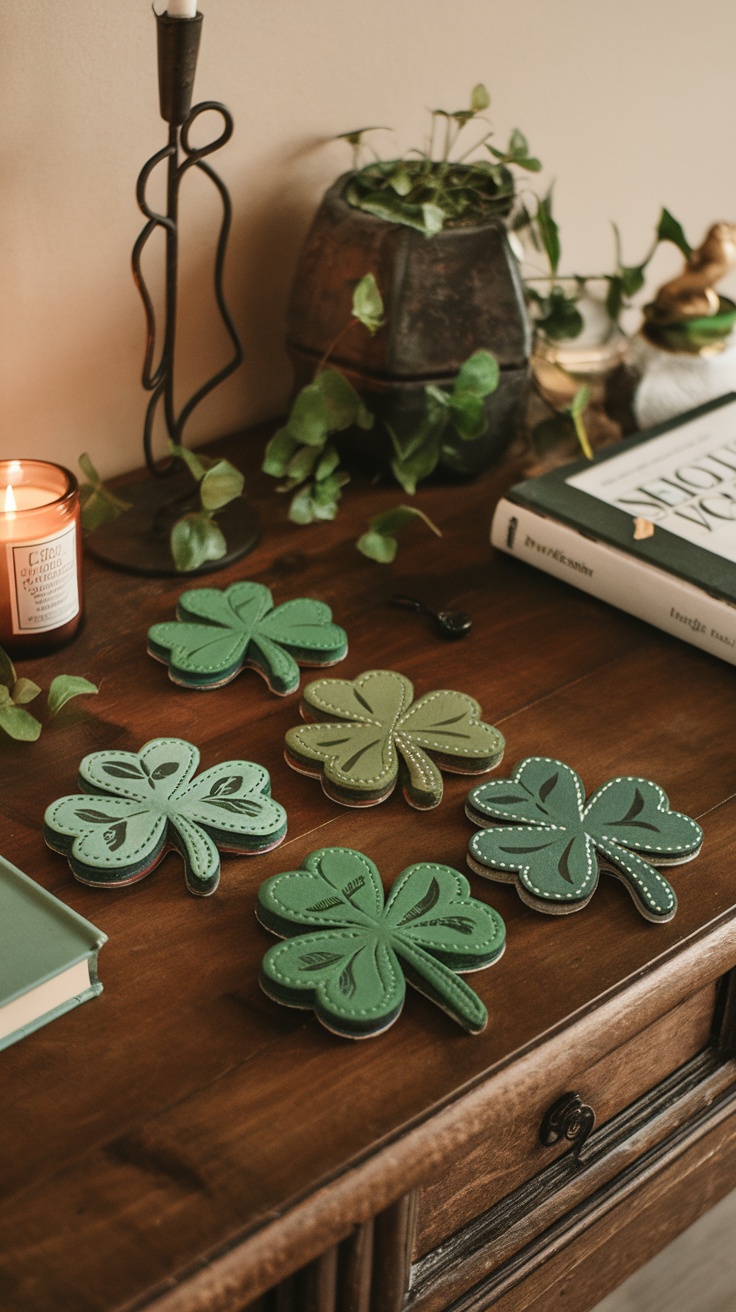
Shamrock coasters are a fun way to celebrate St. Patrick’s Day while adding a touch of charm to your home. These coasters, shaped like the iconic three-leaf clover, not only protect your surfaces but also brighten up your space with their vibrant greens.
Creating these coasters is a simple DIY project. You can use felt or cork to make them durable and easy to clean. Cut out shamrock shapes, and feel free to decorate them with fabric paint or markers to make them unique. Adding little details, like stitching or embellishments, can enhance their look.
Arrange these coasters on your coffee table or dining area for a festive touch. They are perfect for serving drinks at a St. Patrick’s Day party or just for enjoying your favorite beverage at home. Plus, you can proudly say you made them yourself!
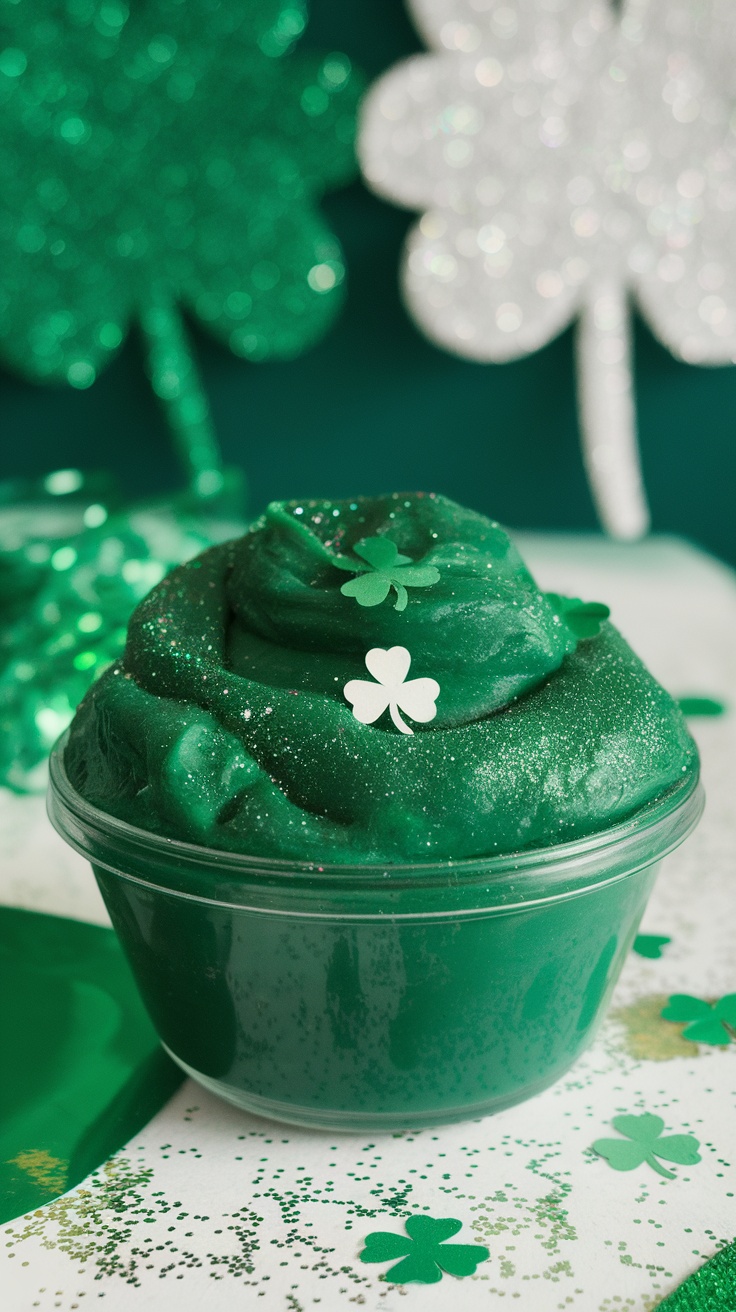
Green Glitter Slime
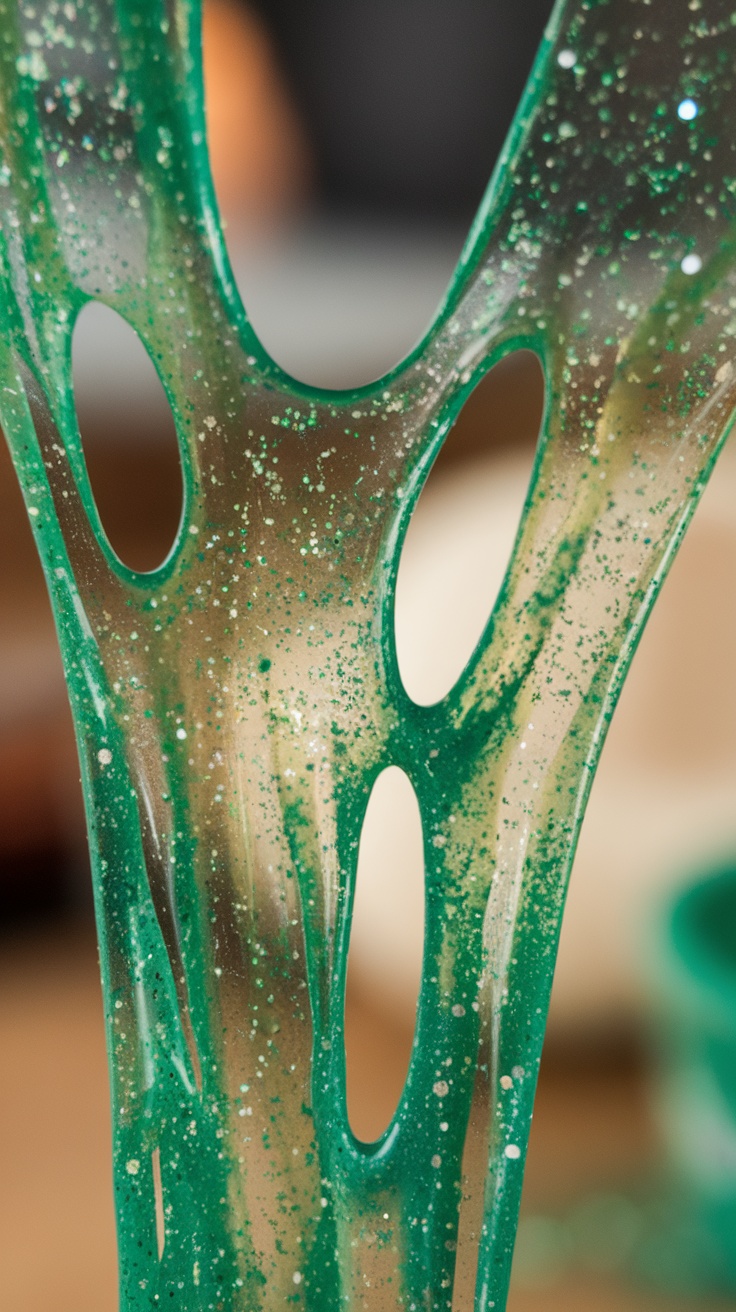
Get into the festive spirit with some fun green glitter slime! This gooey creation is perfect for St. Patrick’s Day and is easy to make at home.
The image shows a stretch of shiny green slime, sparkling with glitter. It’s a visual delight, making it hard to resist playing with. The slime has a glossy texture, flowing easily and catching the light beautifully.
To make your own green glitter slime, you’ll need a few simple ingredients. Gather your clear glue, baking soda, contact lens solution, green glitter, and food coloring. Mix the glue and baking soda until well combined. Add the green food coloring and glitter to achieve a vibrant look. Finally, stir in the contact lens solution until it forms into slime.
This project is great for kids and a fun way to celebrate. It’s also a fantastic sensory activity. You can play, stretch, and even store it for future fun!